Your Ultimate Guide to Paint Equipment and Supplies: From Colors to Real-Life Projects

Overview
Unleash your inner artist and master the world of paint equipment and supplies. From choosing the perfect color palette to troubleshooting common painting issues, our comprehensive guide covers it all. Whether you're a DIY enthusiast or a seasoned pro, dive into the depths of painting expertise and transform your projects into masterpieces.
Table of Contents
- 1. Choosing the Right Paint Colors
- 2. Surface Preparation and Priming
- 3. Paint Application Techniques
- 4. Paint Safety and Clean-Up
- 5. Troubleshooting Common Painting Problems
- 6. Eco-Friendly and Low-VOC Paints
- 7. Paint Maintenance and Longevity
- 8. Real-Life Project Examples
- 9. Product Recommendations - Paint Equipment and Supplies
1. Choosing the Right Paint Colors
Selecting the perfect paint color is a crucial step in any painting project. The color you choose can dramatically influence the mood and atmosphere of a room or the overall appearance of an object. However, with countless color options available, this task can be overwhelming. In this section, we'll guide you through the process of choosing the right paint colors for your projects.
Understanding Color Psychology
Before delving into specific colors, it's essential to understand the basics of color psychology. Colors evoke emotions and feelings, making it important to select hues that align with the desired ambiance of your space. Here are some common color associations:
- Blue: Calming and serene, blue is often used in bedrooms and bathrooms to create a sense of relaxation.
- Red: Bold and energetic, red can add warmth and excitement to a room. It's often used in dining areas.
- Yellow: Cheerful and bright, yellow can make spaces feel more inviting. It's a popular choice for kitchens.
- Green: Associated with nature, green promotes a sense of balance and tranquility. It's ideal for living rooms and home offices.
- Neutral Tones: Shades of gray, beige, and white are versatile and can serve as a backdrop for other accent colors.
Consider the Space and Lighting
The lighting in a room plays a significant role in how colors appear. Natural light, for example, can make colors look different than they do under artificial lighting. It's crucial to consider the direction and intensity of light in your space when choosing colors.
- North-Facing Rooms: These rooms receive cool, indirect light throughout the day. Consider warm colors to add coziness.
- South-Facing Rooms: These rooms get plenty of sunlight and can handle a wider range of colors.
- East-Facing Rooms: Morning sunlight makes colors appear vibrant and warm. Pastels and soft hues work well.
- West-Facing Rooms: Afternoon sunlight can make colors look warmer. Earthy tones complement this light.
Create Color Schemes
Choosing a single color is just the beginning. Creating a harmonious color scheme involves selecting multiple colors that work well together. There are various color schemes to consider:
- Monochromatic: This scheme involves using different shades of a single color. It's elegant and creates a sense of unity.
- Analogous: Analogous color schemes use colors that are adjacent to each other on the color wheel. This creates a harmonious and pleasing effect.
- Complementary: Complementary colors are opposites on the color wheel. Using them together can create a vibrant and dynamic contrast.
- Triadic: A triadic color scheme uses three evenly spaced colors on the color wheel. It's visually engaging and well-balanced.
Test Paint Samples
Never rely solely on color swatches or online images to make your final decision. Paint samples are your best friend. Many paint stores offer small sample cans or paint chips that you can apply to your walls or surfaces. This allows you to see how the color looks in your specific lighting conditions.
Stay Informed About Trends
Color trends can change over time. If you're interested in staying current, research the latest color trends in interior and exterior design. Social media platforms like Pinterest and Instagram are excellent sources of inspiration, showcasing how these trends are used in real homes and spaces.
In conclusion, choosing the right paint colors involves a mix of understanding color psychology, considering the space and lighting, creating harmonious color schemes, testing paint samples, and staying informed about trends. By following these tips and tricks, you'll be well-equipped to select the perfect paint colors for your next project, whether it's a room makeover or a creative DIY endeavor.
2. Surface Preparation and Priming
Before you embark on any painting project, whether it's a room in your home or a piece of furniture, it's vital to lay the groundwork for a flawless finish. This section will delve into the crucial steps of surface preparation and priming, highlighting their significance in achieving professional-looking results.
The Importance of Surface Preparation
Surface preparation is the foundation of a successful paint job. Neglecting this step can lead to uneven paint application, peeling, and an overall unsatisfactory finish. Here's a breakdown of the key aspects of surface preparation:
Cleaning:
Before you even think about picking up a paintbrush, thoroughly clean the surface you plan to paint. Dust, dirt, grease, and grime can hinder paint adhesion. Use a mild detergent and water solution, followed by rinsing and drying the surface.
Sanding:
Sanding is essential for creating a smooth and uniform surface. It removes imperfections, such as bumps, rough patches, or old paint that may have chipped. Sandpaper with varying grits allows you to achieve the desired level of smoothness. Always sand in the direction of the wood grain for wooden surfaces.
Repairs:
Inspect the surface for any damage or imperfections. Fill in cracks, holes, or gaps with the appropriate filler or putty. For larger repairs, consider using patching compound or joint compound. Allow the filler to dry completely, then sand it smooth.
The Role of Primers
Priming is often an overlooked step, but it's indispensable for a successful paint job. Here's why primers are crucial:
- Promotes Adhesion: Primers provide a bonding layer between the surface and the paint, enhancing adhesion. This is especially important when painting surfaces with different materials or when transitioning from oil-based to water-based paints.
- Uniform Surface: Primers create a uniform surface by sealing porous areas and covering imperfections. This ensures that the paint goes on smoothly and consistently.
- Stain Blocking: Some primers have stain-blocking properties, preventing stains from bleeding through the paint.
Choosing the Right Primer
Selecting the right primer depends on the type of surface you're working with and the type of paint you intend to use. Here are some common primer types:
- Latex-Based Primer: Ideal for drywall and previously painted surfaces. It dries quickly and has low VOC (volatile organic compound) levels.
- Oil-Based Primer: Suited for wood, metal, and surfaces with stains or tannin bleed-through. It provides excellent adhesion but requires proper ventilation due to higher VOC content.
- Shellac-Based Primer: Effective for sealing stubborn stains, knots in wood, and smoke-damaged surfaces. It dries quickly and is particularly useful for restoration projects.
- Stain-Blocking Primer: If you're dealing with severe stains or odors, consider a specialized stain-blocking primer. These primers are formulated to prevent stains from reappearing.
Application Tips
When applying primer, follow these tips for a smooth and effective process:
- Use a quality brush or roller designed for the type of paint you're using.
- Apply primer evenly, ensuring complete coverage.
- Allow the primer to dry thoroughly before applying paint.
- Sand the primed surface lightly for an ultra-smooth finish.
- Clean your painting tools immediately after use to extend their lifespan.
In conclusion, surface preparation and priming are the essential first steps to achieving a professional-quality paint job. By dedicating time and care to these stages, you'll create a flawless canvas for your chosen paint color, ensuring a long-lasting and beautiful finish.
3. Paint Application Techniques
To achieve that polished and professional finish in your painting projects, it's essential to master various paint application techniques. In this section, we'll delve into different methods for applying paint, offering step-by-step guides and valuable tips for each technique. Who knows, you may end up painting like a pro!
1. Brushing
Brushing is one of the most traditional and versatile methods for applying paint. It's ideal for intricate details, edges, and smaller areas. Here's how to make the most of brushing:
- Choose the Right Brush: Select a high-quality paintbrush appropriate for your project. For precision work, opt for angled brushes, while flat brushes are great for larger surfaces.
- Load the Brush: Dip the brush into the paint, about one-third of the bristle length. Avoid overloading, as it can lead to drips and uneven coverage.
- Technique: Start by painting along the edges and corners using short, smooth strokes. Then, move to larger areas, using long, even strokes in the direction of the surface's grain or contours.
- Overlap Strokes: To ensure even coverage, slightly overlap each stroke with the previous one.
- Avoid Overworking: Don't repeatedly brush over drying paint, as it can create streaks. Work efficiently and let each coat dry before applying another if necessary.
2. Rolling
Rolling is a time-efficient method for covering large and smooth surfaces. It's commonly used for walls and ceilings. Here's how to roll like a pro:
- Select the Right Roller: Choose a roller cover appropriate for your paint type and surface. Short-nap rollers are ideal for smooth surfaces, while longer-nap rollers work well for textured walls.
- Prep the Roller: Before use, remove any loose fibers from the roller cover and moisten it with water for latex paints or paint thinner for oil-based paints.
- Load the Roller: Dip the roller into the paint tray, then roll it back and forth to evenly distribute the paint.
- Technique: Start by painting a "W" or "M" shape on the wall, then fill in the area with vertical strokes. Roll in one direction for consistency, avoiding excessive pressure to prevent splattering.
- Overlap Rows: Ensure you overlap each row of paint slightly for a seamless finish.
- Roll the Full Height: When rolling, work from the top of the wall down to avoid drips and streaks.
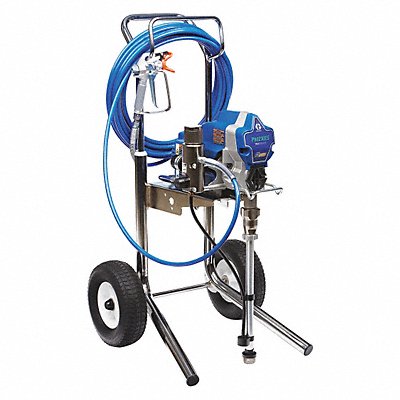
3. Spraying
Spraying is a fantastic option for achieving a smooth and even finish, especially on large, flat surfaces like furniture or cabinets. Here are the key points to consider when spraying paint:
- Preparation: Properly prepare the spray gun and ensure it's clean and in good working condition.
- Mask and Protect: Cover surrounding areas with drop cloths or plastic sheeting to prevent overspray.
- Thin the Paint: Thin the paint according to the manufacturer's recommendations for your spray equipment.
- Spraying Technique: Hold the spray gun about 6 to 12 inches away from the surface, moving it in a consistent, overlapping pattern. Start and stop spraying off the surface to avoid blotches.
- Even Application: Maintain a steady hand and maintain a consistent distance from the surface for an even coat.
- Ventilation: Always spray in a well-ventilated area, preferably outdoors or in a properly ventilated spray booth.
4. Specialized Tools
In addition to traditional methods, specialized tools can help achieve unique finishes. Some examples include:
- Sponging: Dabbing a sponge into paint and applying it to the surface for a textured look.
- Stenciling: Using stencils to create intricate patterns and designs.
- Faux Finishes: Techniques like rag rolling, stippling, and marbling to mimic the appearance of different materials.
- Paint Pads: Flat, square applicators for smooth, controlled coverage on walls and ceilings.
By mastering these paint application techniques and selecting the right method for your project, you'll be well on your way to achieving a professional-looking finish. Remember to practice and take your time, as proficiency comes with experience.
4. Paint Safety and Clean-Up
Safety should be paramount when working with paints and coatings. In this section, we'll emphasize essential safety precautions and guide you through proper clean-up procedures to maintain your tools and workspace.
Safety Precautions
- Protective Gear: Always wear appropriate protective gear, including safety goggles, a respirator mask, gloves, and clothing that covers your skin. This shields you from potential splatters and harmful fumes.
- Ventilation: Work in a well-ventilated area, ideally outdoors or with open windows and doors. Proper ventilation helps dissipate fumes and ensures a safer working environment.
- Respiratory Protection: When using paints with volatile organic compounds (VOCs), a respirator mask with the appropriate filter is crucial. Choose one designed for paint fume protection.
- Fire Safety: Keep flammable materials away from your workspace, and have a fire extinguisher nearby. Avoid smoking while working with paints or near paint storage areas.
- Storage: Store paints and solvents in a cool, dry place, away from direct sunlight and out of reach of children and pets. Ensure lids are tightly sealed to prevent spills and contamination.
Clean-Up Procedures
- Immediate Clean-Up: Wipe up spills and drips immediately with a cloth or paper towel. Dispose of used materials in a sealed container to prevent fire hazards.
- Brushes and Rollers: If you plan to use them again the next day, wrap them tightly in plastic wrap or aluminum foil to keep them moist. For longer storage, clean them thoroughly with the appropriate solvent (water for latex, paint thinner for oil-based), and store them in their original packaging.
- Empty Cans and Containers: Empty paint cans should be allowed to dry completely before disposal. Consult local regulations for proper disposal procedures, as some areas may have specific guidelines.
- Unused Paint: If you have leftover paint, ensure the lid is sealed tightly to prevent drying. Store it in a cool, dry place, and consider marking the can with the paint color and date of purchase for future reference.
- Clean Tools and Equipment: Clean brushes, rollers, and other painting tools immediately after use to prevent paint from drying on them. Use the appropriate solvent, and rinse thoroughly.
- Dispose of Hazardous Materials: Properly dispose of hazardous materials like paint thinner or solvents according to local regulations. Many areas have hazardous waste disposal centers for this purpose.
5. Troubleshooting Common Painting Problems
Even experienced painters encounter challenges from time to time. In this section, we'll address common painting problems and provide solutions and tips on how to troubleshoot and correct these issues.
1. Streaks and Lines
- Cause: Uneven application, improper technique, or using a low-quality brush or roller.
- Solution: Apply additional coats, ensuring even strokes in one direction. Invest in high-quality brushes and rollers for smoother results.
2. Drips and Runs
- Cause: Overloading the brush or roller, applying too much paint at once, or not smoothing out the paint.
- Solution: Remove excess paint, gently sand the affected area, and repaint. Use thinner coats and take your time for a drip-free finish.
3. Uneven Coverage
- Cause: Inadequate surface preparation, using the wrong type of paint for the surface, or not applying enough paint.
- Solution: Properly prepare the surface, choose the right paint, and apply additional coats as needed for uniform coverage.
4. Paint Bubbles
- Cause: Moisture or contaminants on the surface, or applying paint in direct sunlight or high humidity.
- Solution: Sand the affected area, remove bubbles, and repaint. Ensure surfaces are clean and dry before painting, and avoid extreme environmental conditions.
By addressing these common painting issues and following the solutions provided, you'll be better equipped to tackle challenges and achieve professional-quality results in your paint projects. Remember that practice and patience are key to becoming a skilled painter.
6. Eco-Friendly and Low-VOC Paints
As environmental awareness continues to rise, many individuals are seeking eco-friendly and low-VOC (volatile organic compounds) paint options. In this section, we'll delve into the benefits of using these paints, their positive impact on indoor air quality, and how to make environmentally responsible choices.
Benefits of Eco-Friendly Paints
- Healthier Indoor Air Quality: Eco-friendly paints contain fewer harmful chemicals and emit lower levels of VOCs. This contributes to better indoor air quality, reducing the risk of respiratory problems and allergies.
- Reduced Environmental Impact: These paints often use sustainable and renewable resources, minimizing their ecological footprint. They may also be produced using energy-efficient methods.
- Less Harmful During Disposal: Eco-friendly paints are typically easier to dispose of, as they don't contain hazardous materials. This makes them a more environmentally responsible choice.
How to Choose Eco-Friendly Paints
- Check VOC Levels: Look for paints labeled as low-VOC or VOC-free. These products have limited or no volatile organic compounds, making them safer for your health and the environment.
- Certifications: Seek paints with eco-friendly certifications, such as Green Seal or Greenguard. These labels indicate that the product meets specific environmental standards.
- Water-Based Options: Opt for water-based paints whenever possible. They generally have lower VOC levels and are easier to clean up with water, reducing the need for harsh solvents.
- Read Labels Carefully: Examine the paint can's label for information on ingredients and environmental claims. Transparency in labeling is a good sign of an eco-friendly product.
7. Paint Maintenance and Longevity
After completing your painting project, proper maintenance is crucial to ensure the longevity of your results. In this section, we'll provide guidance on caring for painted surfaces, including cleaning and touch-up techniques. We'll also discuss ways to extend the life of your paintwork.
Cleaning Painted Surfaces
- Regular Dusting: Dust painted surfaces regularly to prevent the buildup of dirt and grime. Use a soft, lint-free cloth or a duster to avoid scratching the paint.
- Gentle Cleaning Solutions: When cleaning, use mild solutions and avoid abrasive materials. A mixture of water and a small amount of dish soap is often sufficient for cleaning walls.
- Avoid Harsh Chemicals: Refrain from using harsh chemicals or abrasive cleaners, as they can damage the paint's finish and color.
- Touch-Up Paint: Keep leftover paint for touch-ups. Store it properly, and use it to cover minor nicks, scratches, or blemishes to maintain a uniform appearance.
Extending Paint Life
- Proactive Repairs: Address any surface damage promptly. Repair cracks, holes, or peeling paint as soon as they appear to prevent further deterioration.
- Regular Inspections: Periodically inspect painted areas, especially in high-traffic or exposed locations. Early detection of issues allows for timely repairs.
- Protective Measures: Consider using furniture pads, wall protectors, or area rugs in areas prone to scuffs and damage. These preventative measures can help preserve your paintwork.
- Maintain Proper Humidity: Maintain indoor humidity levels within the recommended range to prevent paint from cracking or peeling due to excessive moisture or dryness. Right the right storage location for your paints and supplies. Don't forget to properly clean-up your paint brushes.
By following these guidelines, you can ensure that your paintwork remains in excellent condition, promoting both its longevity and the aesthetic appeal of your living spaces.
8. Real-Life Project Examples
Real-life painting projects serve as a wellspring of inspiration and education. In this section, we'll feature case studies and examples of diverse painting endeavors, spanning from home renovations to automotive restorations. These real-life projects will impart practical insights and ignite ideas for your own painting ventures.
Home Renovations
Project 1: Transforming a Living Room
Follow the journey of a homeowner who turned a dated living room into a modern oasis with a fresh coat of paint. Learn about color choices, techniques used, and the overall transformation of the space.
Project 2: Exterior Makeover
Explore the story of a house's exterior makeover, showcasing how the right paint choices can enhance curb appeal and protect against the elements. Discover the challenges faced and the stunning results achieved.
Automotive Restorations
Project 3: Classic Car Restoration
Step into the world of automotive restoration as we highlight the meticulous process of reviving a classic car. From paint selection to detailing, this case study provides a glimpse into the world of automotive painting.
Project 4: Motorcycle Customization
Witness the customization of a motorcycle through a unique paint job. Learn about the specialized techniques and products used to create a one-of-a-kind look for this two-wheeled masterpiece.
Commercial Projects
Project 5: Office Space Transformation
Delve into the renovation of a corporate office space, illustrating how paint can play a pivotal role in creating a vibrant and productive work environment. Discover the color psychology behind the choices made.
Project 6: Industrial Facility Refurbishment
Explore the challenges and solutions involved in refurbishing an industrial facility. From high-performance coatings to rust prevention, this project exemplifies the importance of durable paint solutions.
9. Product Recommendations - Paint Equipment and Supplies
Automotive Paints and Coatings
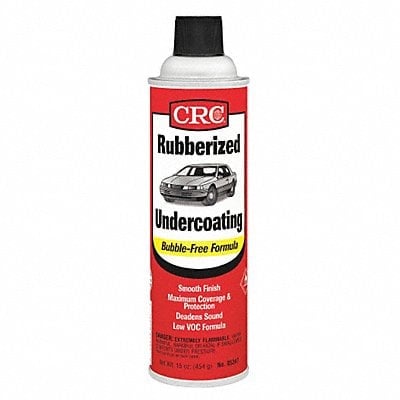
If you're in the automotive industry or simply a car enthusiast, you understand the importance of high-quality paints and coatings. They not only enhance the appearance of your vehicle but also provide protection against corrosion and wear. Here are some product recommendations for automotive paints and coatings:
Product Recommendations
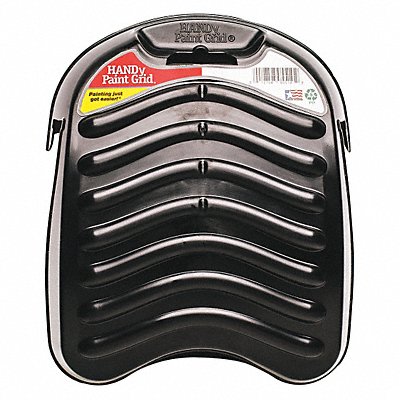
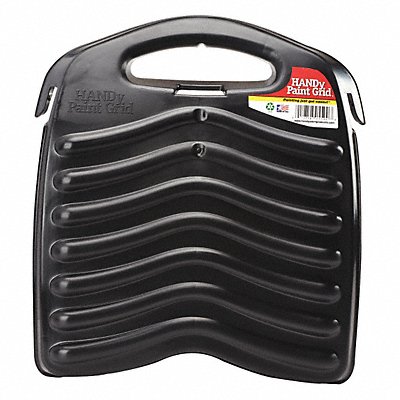
Brushes, Rollers, and Trays
Brushes, rollers, and trays are the backbone of any painting project. Whether you're painting a room, a piece of furniture, or intricate details, having the right tools can make all the difference. Here are some product recommendations for brushes, rollers, and trays:
Product Recommendations
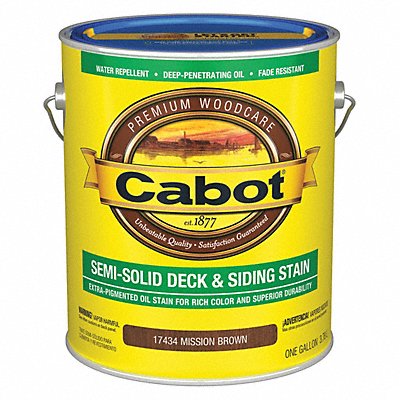
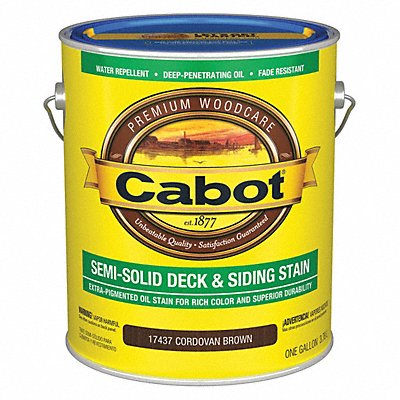
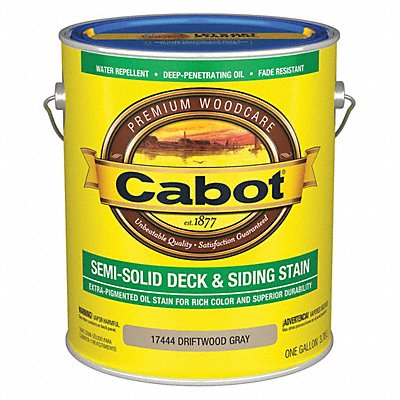
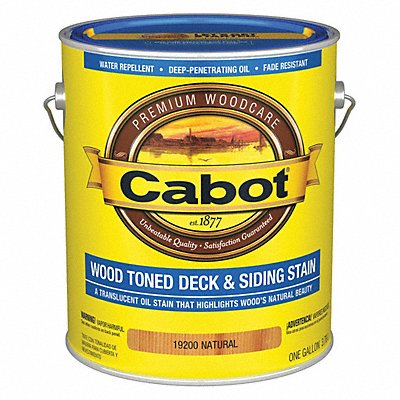
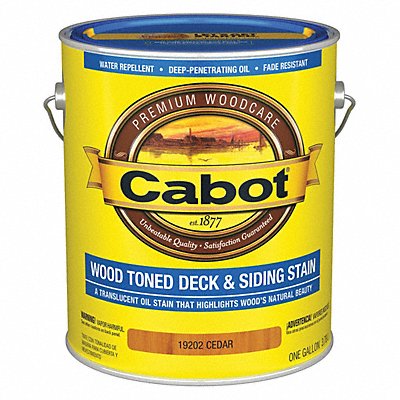
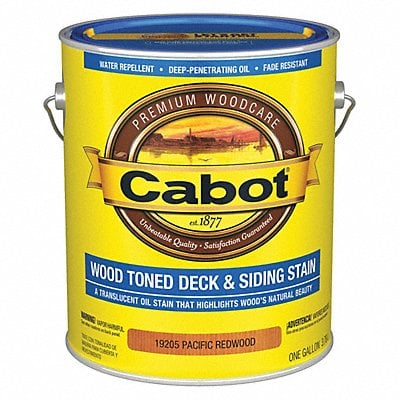
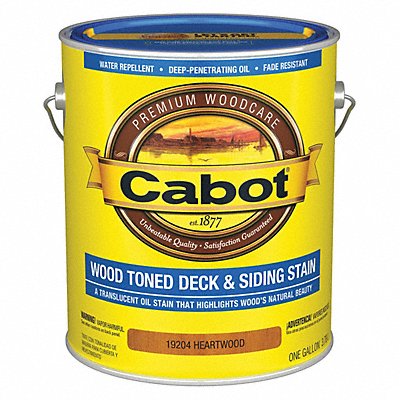
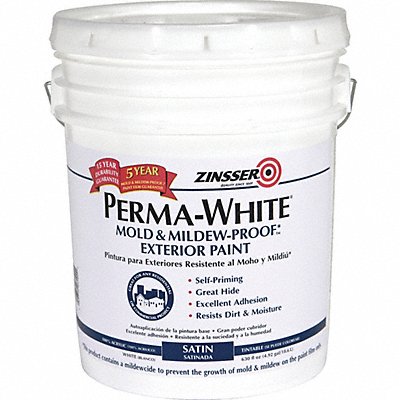
Exterior Paints and Stains
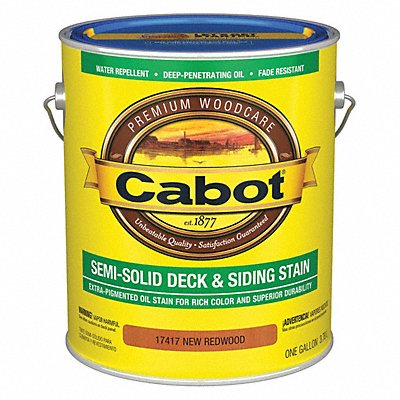
When it comes to the exterior of your home or any outdoor project, choosing the right paints and stains is crucial for durability and weather resistance. Whether you're painting your home's siding or staining a deck, here are some product recommendations for exterior paints and stains:
Product Recommendations
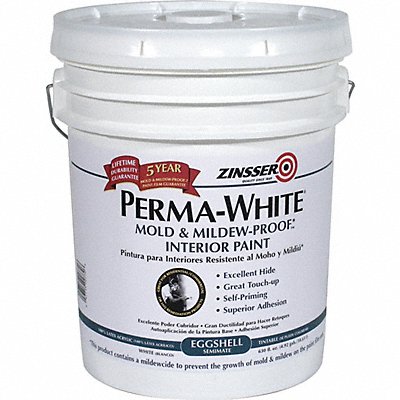
Interior Paints and Stains
Choosing the right interior paints and stains can transform the look and feel of your living spaces. Whether you're going for a fresh coat of paint in your bedroom or refinishing your wooden furniture, here are some product recommendations for interior paints and stains:
Product Recommendations
Paint and Wallpaper Tools
Having the right tools for your painting and wallpaper projects is essential for achieving a professional finish. From paintbrushes to wallpaper strippers, here are some product recommendations for paint and wallpaper tools:
Product Recommendations
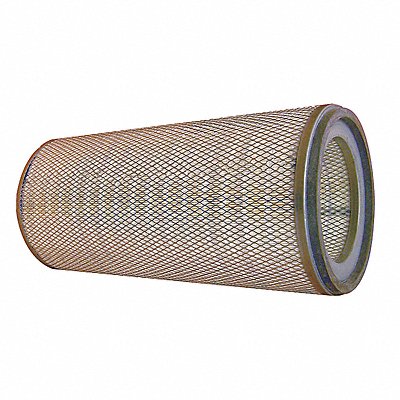
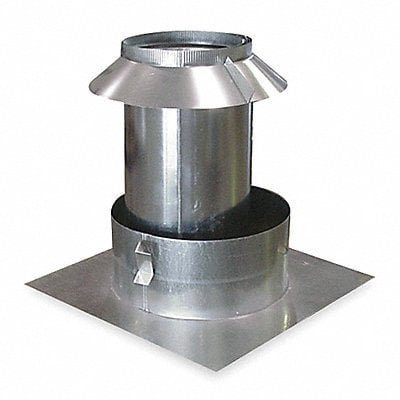
Paint Booths and Accessories
For larger painting projects or professional applications, paint booths and accessories provide a controlled environment for a flawless finish. Whether you're a professional painter or running a workshop, here are some product recommendations for paint booths and accessories:
Product Recommendations
Paint Mixers, Shakers, and Accessories
Properly mixed paint is crucial for a consistent and smooth application. Paint mixers and shakers ensure that your paint is ready for use. Here are some product recommendations for paint mixers, shakers, and accessories:
Product Recommendations
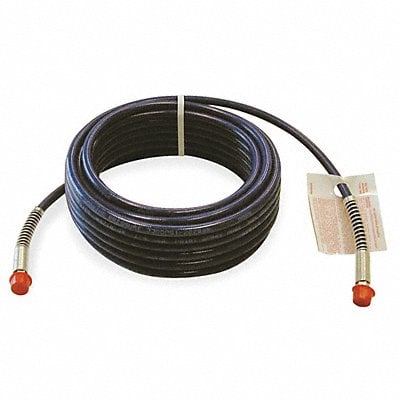
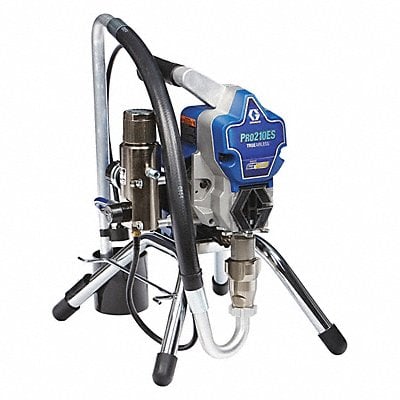
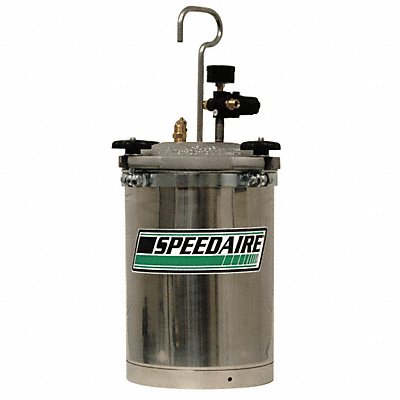
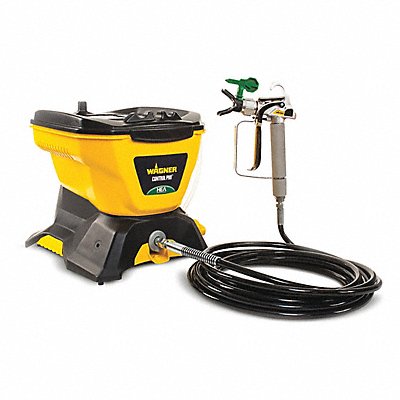
Paint Sprayers and Accessories
For large surface areas or intricate details, paint sprayers provide efficient and even coverage. Whether you're a professional painter or tackling a DIY project, here are some product recommendations for paint sprayers and accessories:
Product Recommendations
Replacement Parts
Maintaining your paint equipment is essential for long-lasting performance. Replacement parts ensure that your tools and machines stay in top condition. Here are some product recommendations for replacement parts:
Product Recommendations
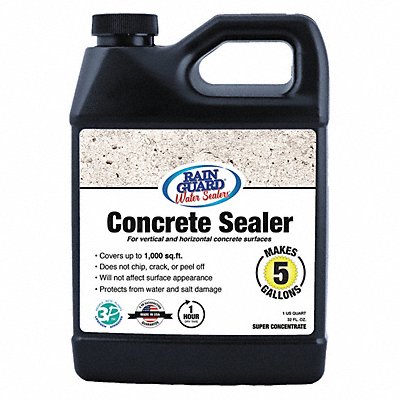
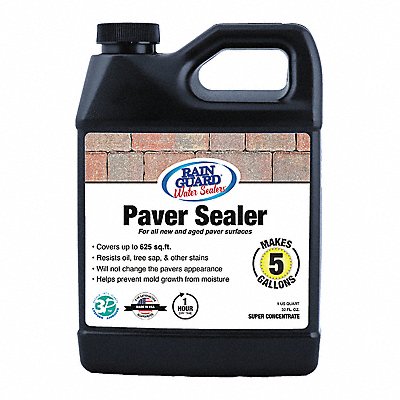
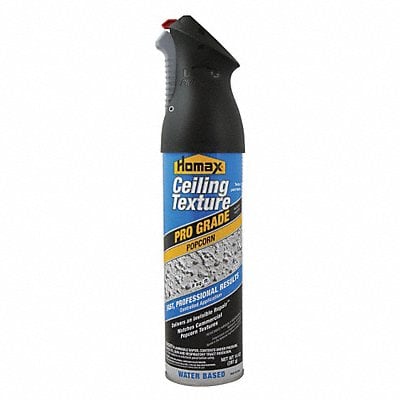
Specialty Paints, Coatings, and Additives
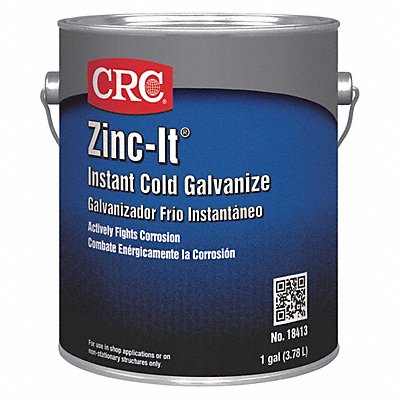
Sometimes, standard paints and coatings won't do the job. Specialty paints, coatings, and additives offer unique solutions for specific projects. Here are some product recommendations for specialty paints, coatings, and additives:
Product Recommendations
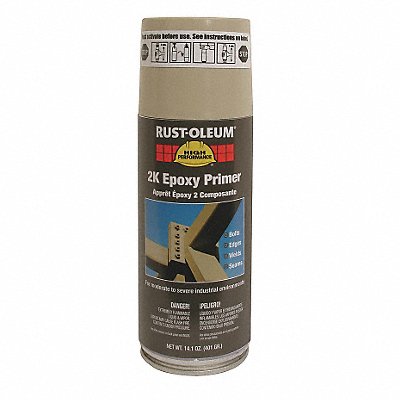
Spray Paints and Primers
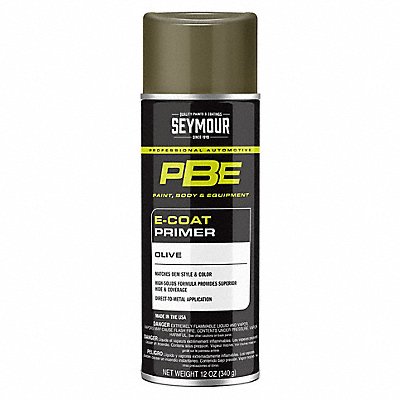
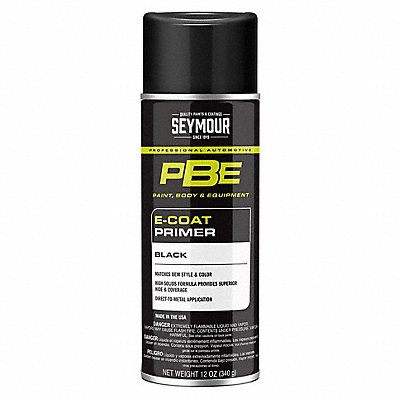
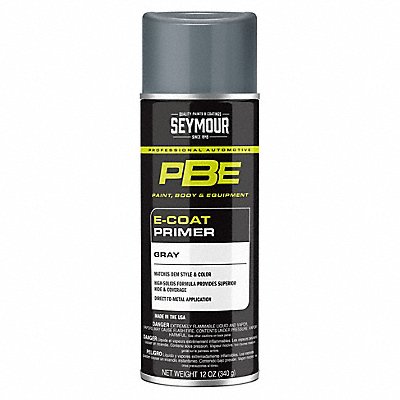
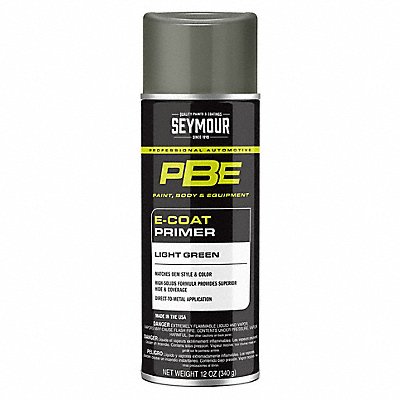
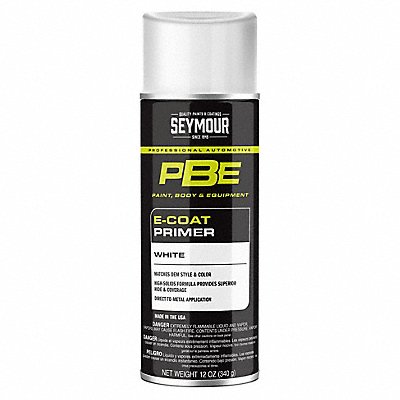
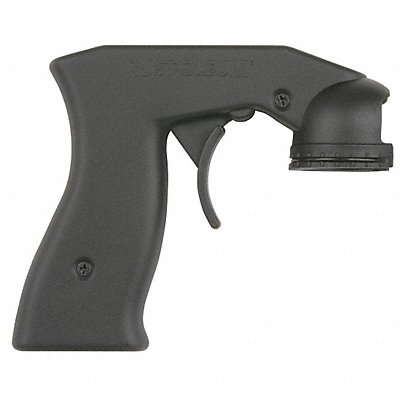
Spray paints and primers offer quick and convenient solutions for various projects. Whether you're touching up furniture or adding a fresh coat to metal surfaces, here are some product recommendations for spray paints and primers:
Product Recommendations
Surface Protection and Dust Barriers
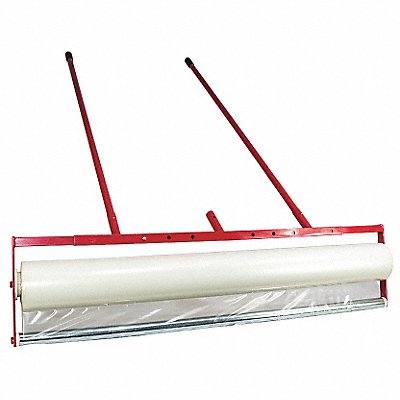
Protecting surfaces and creating dust barriers is crucial, especially during painting and renovation projects. Here are some product recommendations for surface protection and dust barriers:
Product Recommendations
Conclusion
Whether you're painting your home, working on an automotive project, or tackling any other painting task, having the right equipment and supplies is essential. By exploring the diverse range of paint equipment and supplies available, you can ensure that your projects are a success. Click on the provided links to discover more about each category and find the perfect products for your needs. Happy painting!


